A well-designed thumbnail is your first opportunity to entice viewers and communicate what your video is all about. To create a captivating thumbnail, you don’t always need advanced design skills or expensive software. In this step-by-step tutorial, we’ll guide you through the process of designing a thumbnail from scratch. Plus, we’ll introduce you to Thumbz Studio, a tool that simplifies thumbnail creation, making it easier than ever to craft stunning visuals for your YouTube videos.
Step 1: Define Your Video’s Message
Before you dive into thumbnail design, it’s crucial to have a clear understanding of your video’s message and theme. What’s the core content? Who’s your target audience? Answering these questions will guide your thumbnail creation process.
Step 2: Gather Visual Assets
Select or create visual assets that align with your video’s theme. You can choose high-quality images, screenshots from your video, or custom graphics. Ensure that the selected visuals are relevant to your video’s content.
Step 3: Choose the Right Image
Select the most compelling image from your visual assets that encapsulate a key moment, an emotional expression, or an intriguing scene from your video. The chosen image should resonate with your video’s theme and capture viewers’ attention.
Step 4: The Layout and Composition
Consider the layout and composition of your thumbnail. Ensure that the chosen image is well-framed and visually appealing. Utilize the rule of thirds by placing essential elements at the intersections of gridlines to create a balanced composition.
Step 5: Adding Text for Context
Text can enhance your thumbnail’s storytelling power. Include concise and engaging text that provides context or hints at the story without overwhelming the visual. Opt for legible fonts and contrasting colors to ensure readability.
Step 6: Evoke Emotions
Strong emotions can make your thumbnail more captivating. If your video elicits powerful feelings, showcase them in your thumbnail. A compelling facial expression or a significant gesture can create an instant connection with viewers.
Step 7: Creating a Visual Flow
Guide the viewer’s eye through the thumbnail by establishing a clear visual flow. Utilize directional cues such as arrows, lines, or the gaze of a person in the image to lead the viewer’s attention toward a focal point related to the story.
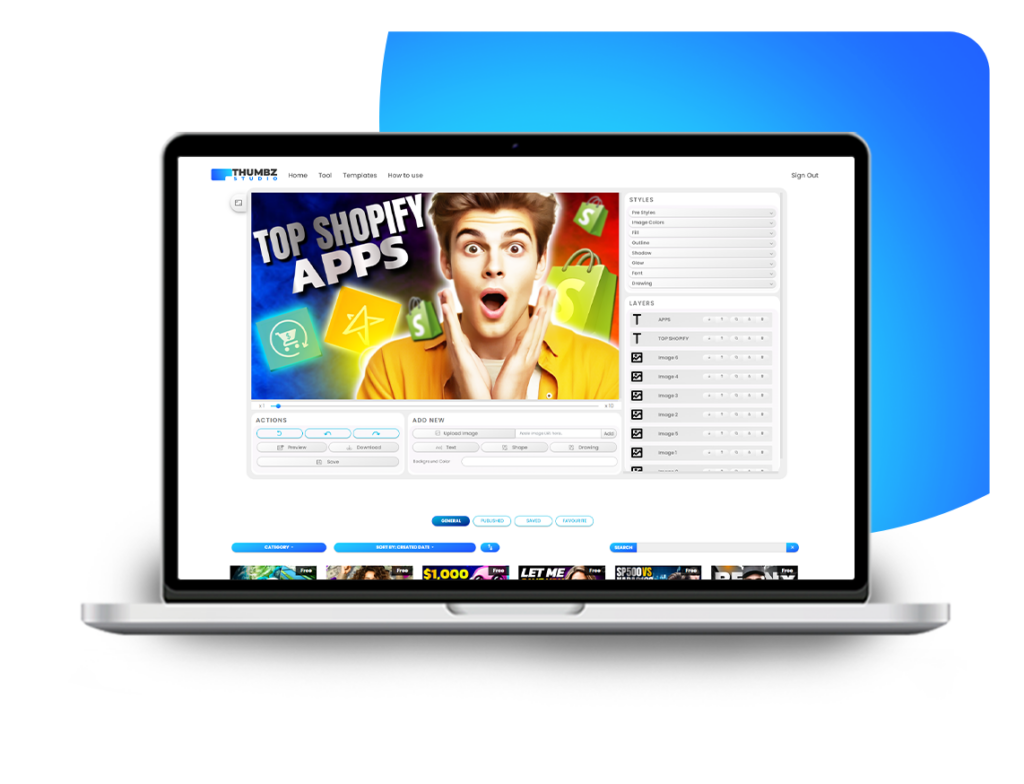
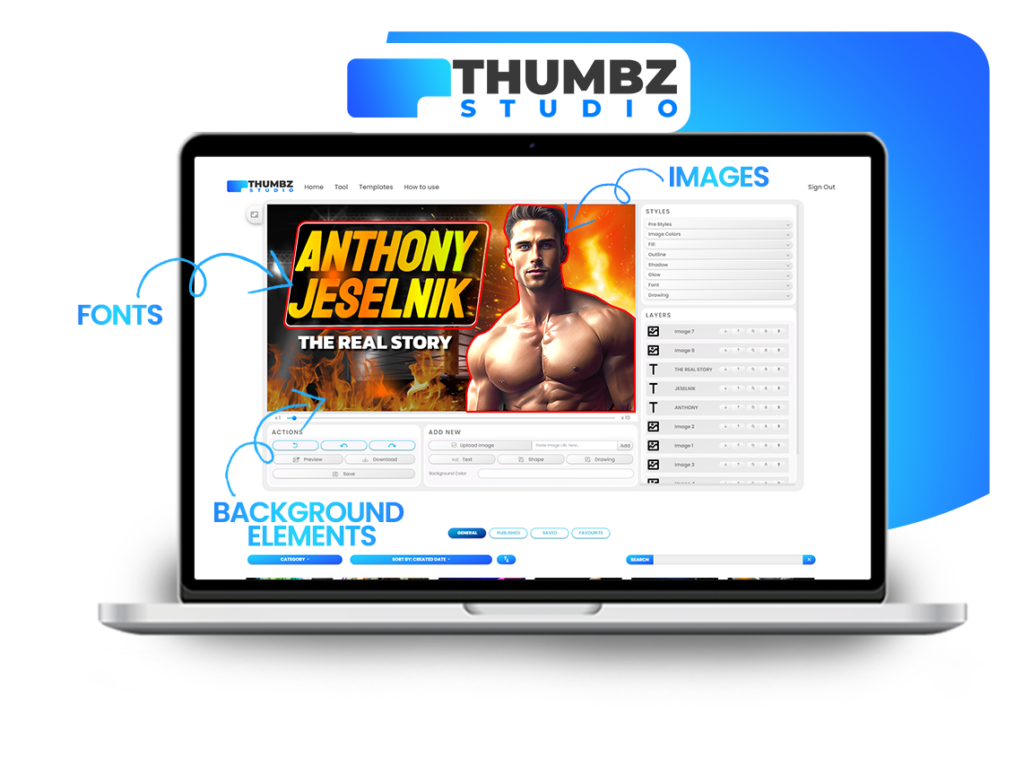
Step 8: Thumbnail Customization with Thumbz Studio
Creating thumbnails from scratch is now easier with Thumbz Studio. Our platform simplifies the process, allowing you to craft stunning thumbnails effortlessly.
The Thumbz Studio Advantage: Our platform offers customizable templates designed by professional graphic designers. You can select a template that aligns with your video’s theme and story, then personalize it to create a unique and engaging thumbnail.
Step 9: Maintain Authenticity
While crafting your thumbnail, ensure that it accurately represents your video’s content. Misleading or irrelevant thumbnails can harm viewer trust and engagement.
Step 10: Continuous Improvement
Thumbnail design is an evolving skill. Don’t hesitate to iterate and refine your thumbnail based on performance data and viewer feedback. As you gain insights, you can continue to enhance your thumbnail design skills.
Conclusion: Crafting Captivating Thumbnails
In conclusion, designing a thumbnail from scratch can be a rewarding creative process. Your thumbnail serves as the gateway to your video, enticing viewers to click and explore your content. With Thumbz Studio at your disposal, you can effortlessly create stunning thumbnails that resonate with your audience and set the stage for an engaging video experience.
Ready to craft stunning thumbnails for your videos? Explore Thumbz Studio today!